How to Create Your Own Recycled City Out of Cardboard
No matter the age, kids love playing with mini cities. Whether they love zooming cars around the streets, playing with dolls or figurines in the houses, or even just the process of building something, DIYing your own city is perfect for everyone! Building a city is also a great project to keep your kids engaged and the perfect opportunity to talk about architecture and green design (in our opinion).
If you’ve been following us for a bit, you’ll know that we almost exclusively use recycled materials in our workshops and for our at home activities. It’s cheap, easy, and you almost always have cardboard and paper laying around the house. Plus this could be an ongoing project where kids can add to it as they find more materials or some up with more ideas! We love encouraging open ended playing! Grab your paper and markers and let’s get started!
Materials
paper
cardboard
markers
pens/pencils
scissors
glue/tape
This project can easily be modified for any age so we’ve got lots of suggestions for your little helpers! For the smallest architects, have them draw out some components they’d like to see in their city while you help them build it. For older kids, they can draw or write down a plan or just go straight into building.
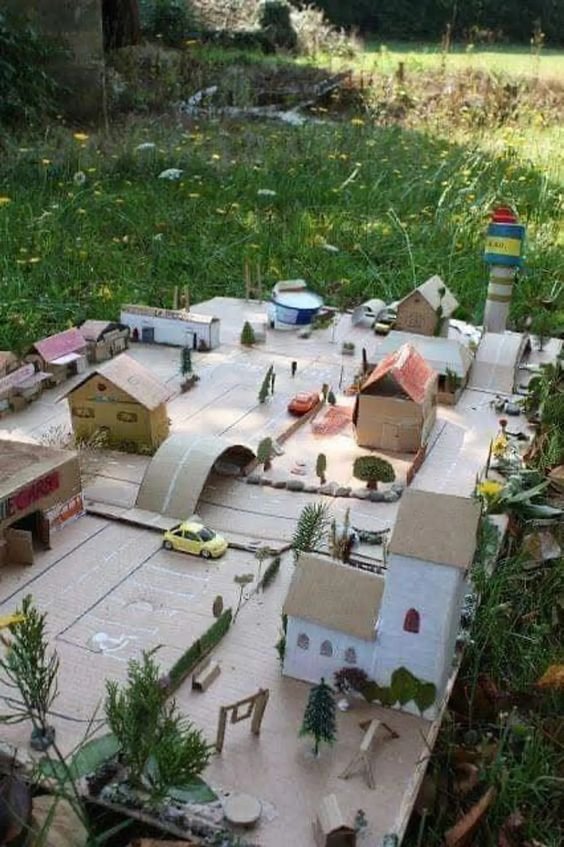
Option 1 - Cardboard Cities
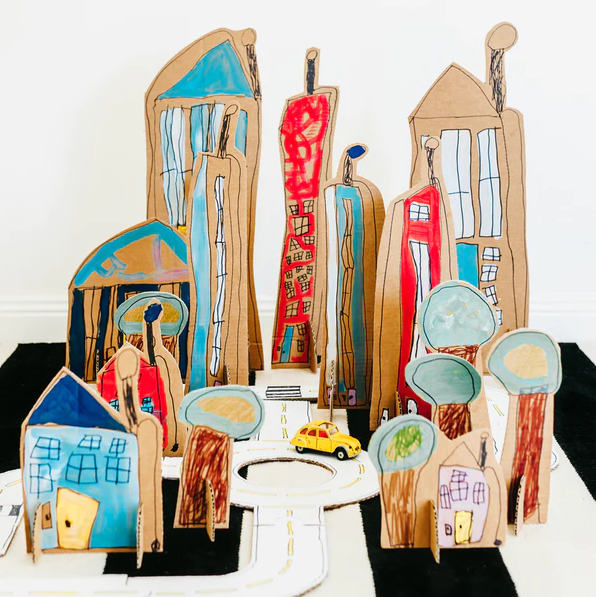
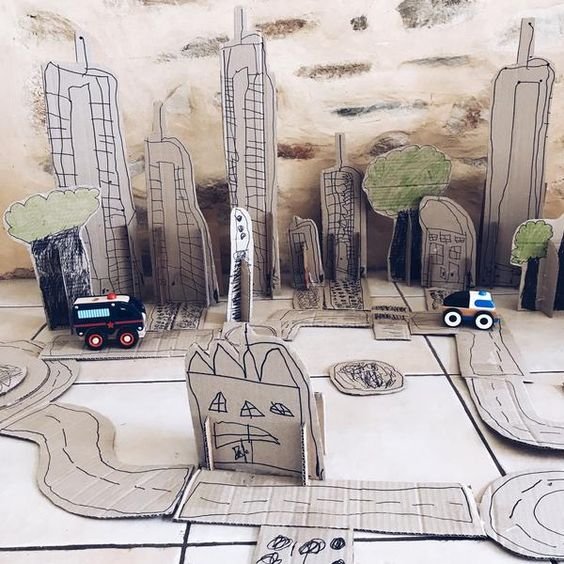
This cardboard city was created by Mini Mad Things and is a perfect way for the younger kids to be involved with this project. If your kids can draw on cardboard, you can help them cut it out. You can either glue on a base or cut some slots onto the sides to slip in another piece of cardboard. Don’t forget to add trees, walkways, and parks!
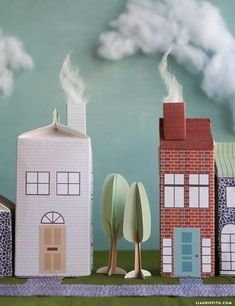
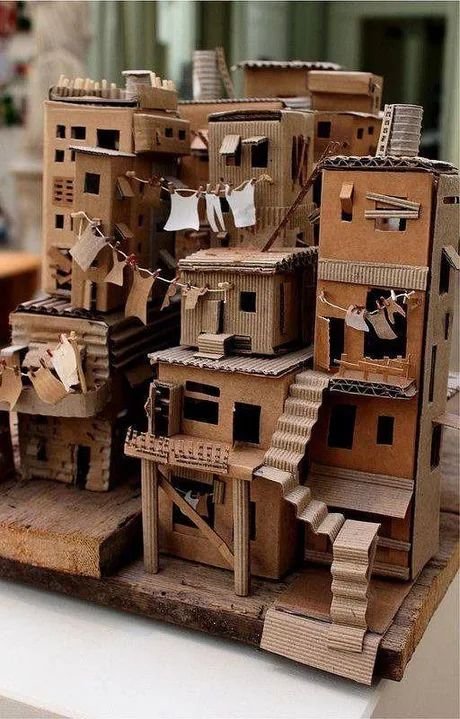
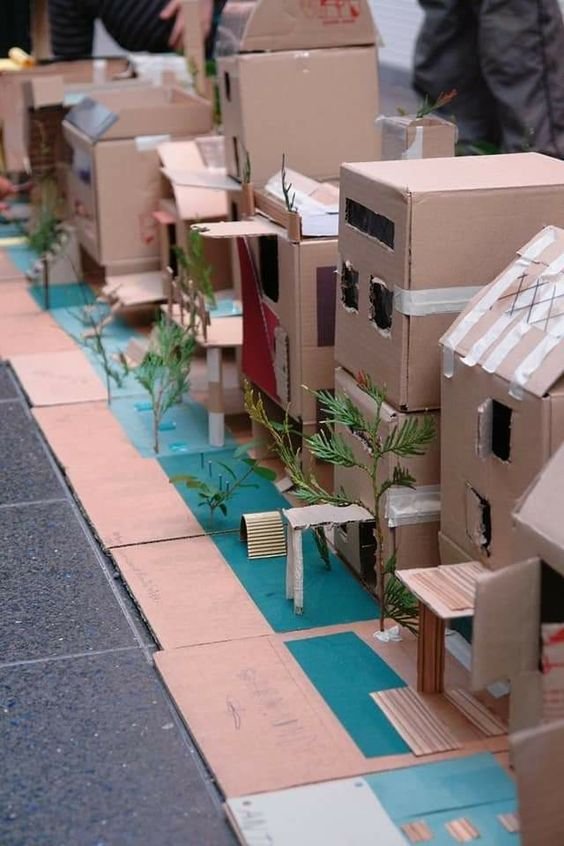
For the older kids, let them build their own houses out of cardboard and create more of a 3D city. The older kids LOVE adding more details to their projects! Clotheslines, solar panels, and foliage are some common ones we see most in our classes. You can even go outside and grab some small branches to use as trees for a more realistic feeling!
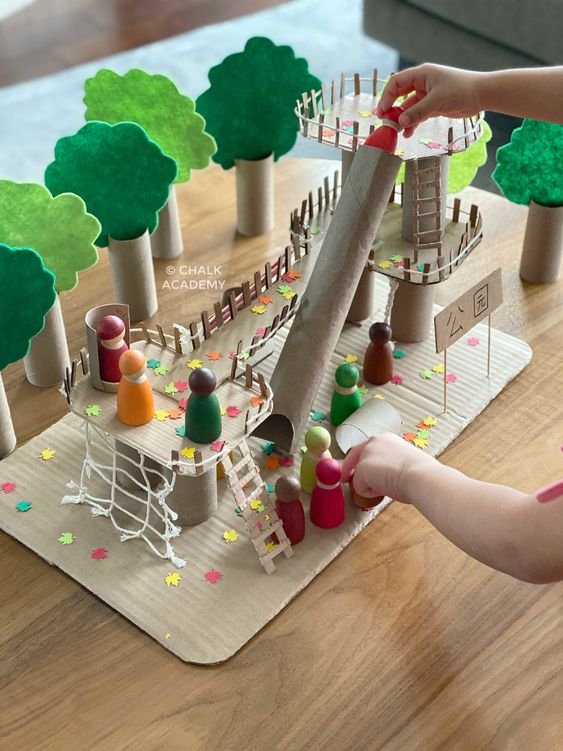
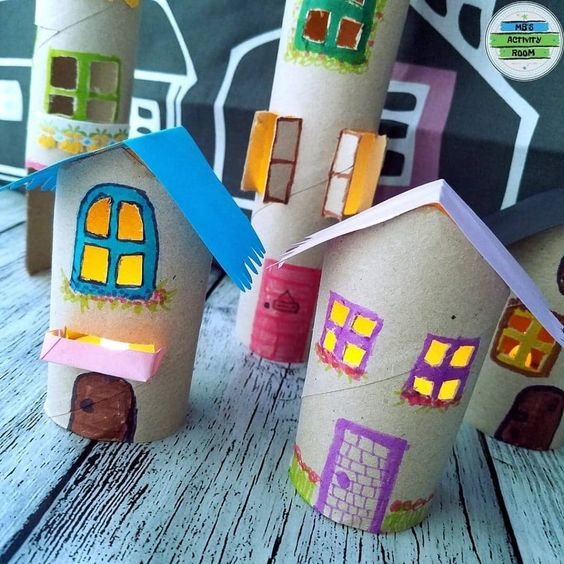
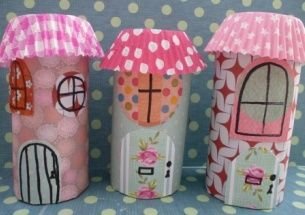
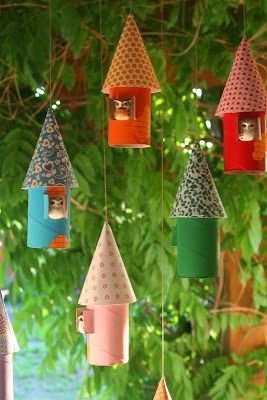
Option 2 - Toilet Paper Roll Towns

Another great option is using toilet paper rolls to create your own little town. These are great because all you need to do is add a roof and decorate. Nice and easy! You can still get creative with these though. Cone roofs, cupcake wrapper roofs, paper roofs, and so much more! This is a great craft for those who like to move their towns around. You can even get a large piece of paper or cardboard and draw roads and walkways on it for your little towns! Get creative!
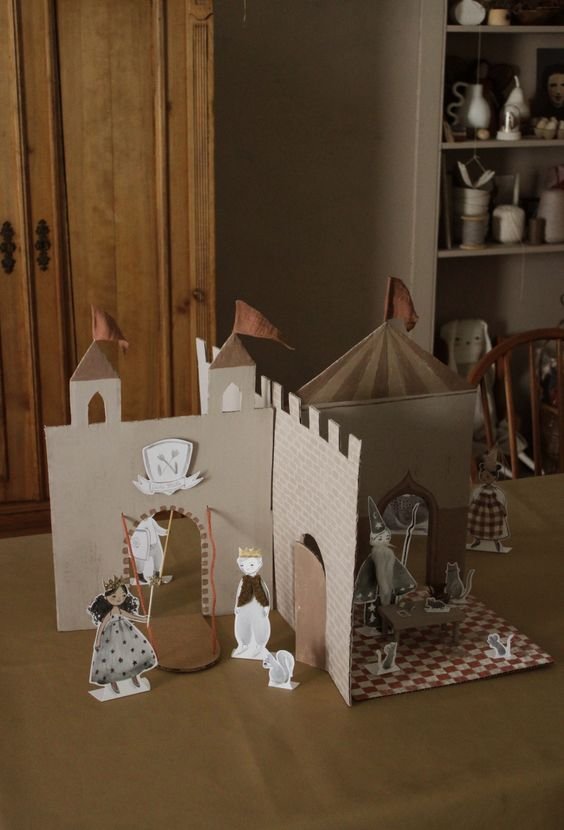
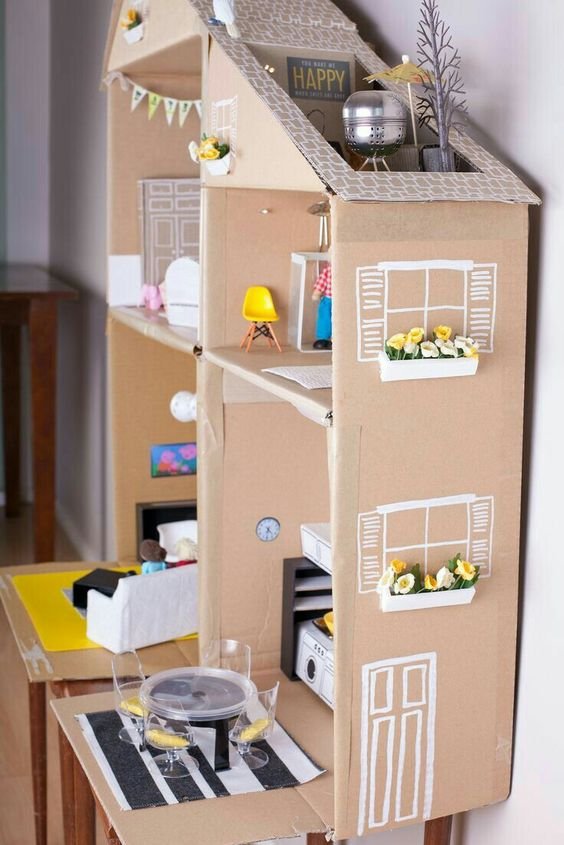
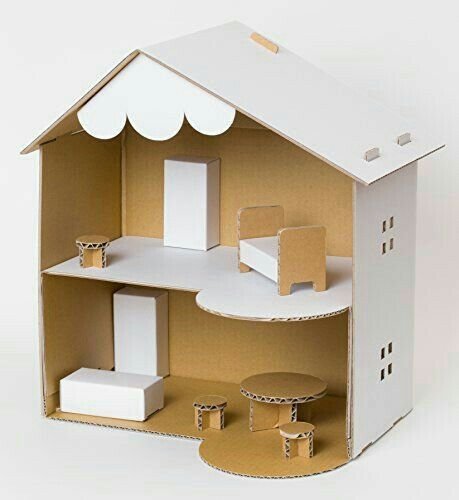
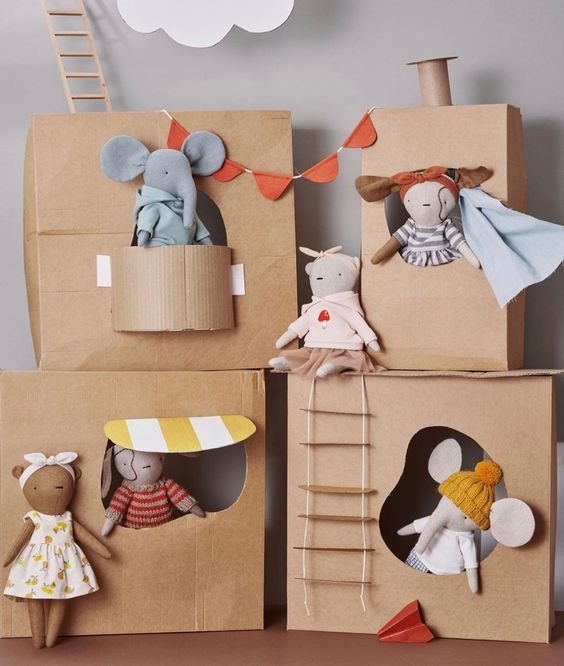
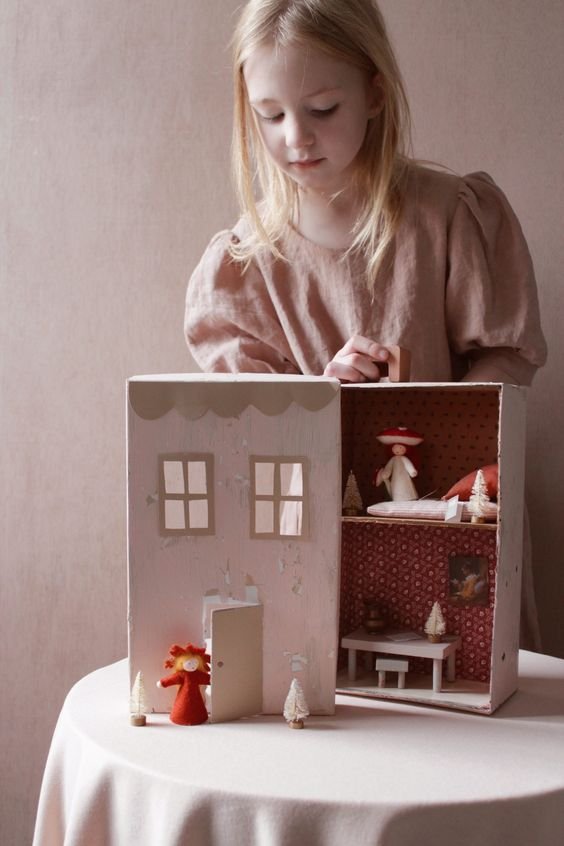
Option 3 - Cardboard Box Dollhouse

Not into build a whole city? Try a single house instead! Dollhouses are always a hit at our camps! You can design your dream home, try and recreate your own home, or go crazy and make a fantasy house. It’s completely up to you! This activity is great because it’ll work with any size box you have! From a shoebox to a larger moving box, you can make as many houses as you have boxes! We especially love the ones from Mer Mag that they decorated with all kinds of colorful things!
The options are endless!
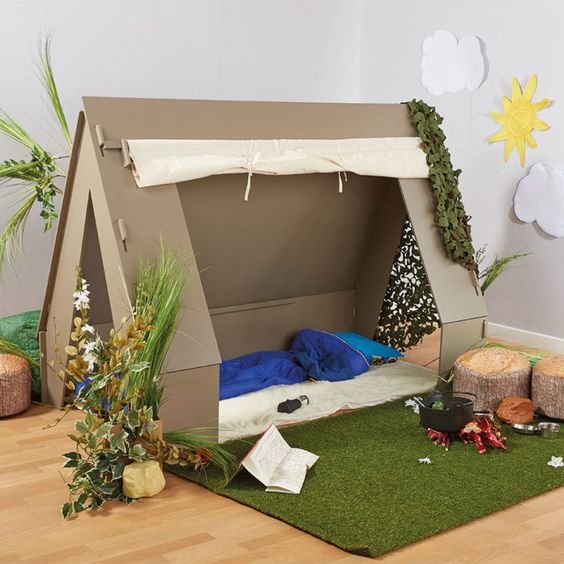
There’s SO many more options when it comes to these cities, these were just a few of our favourites. Instead of making a whole city you could try building a park or a campground! Instead of using toilet paper rolls, try milk cartons. Or do a little bit of everything and use this as an open ended activity, always designing and adding new things. You can see more ideas in our Pinterest board we made and if you do make your own city be sure to tag us on Facebook and Instagram! We love seeing them!